Vacuum Anxiety in Pets: Calm Training for Dogs & Cats
Helping Pets Handle Vacuum Stress: A Calm, Step-by-Step Plan for Dogs and Cats
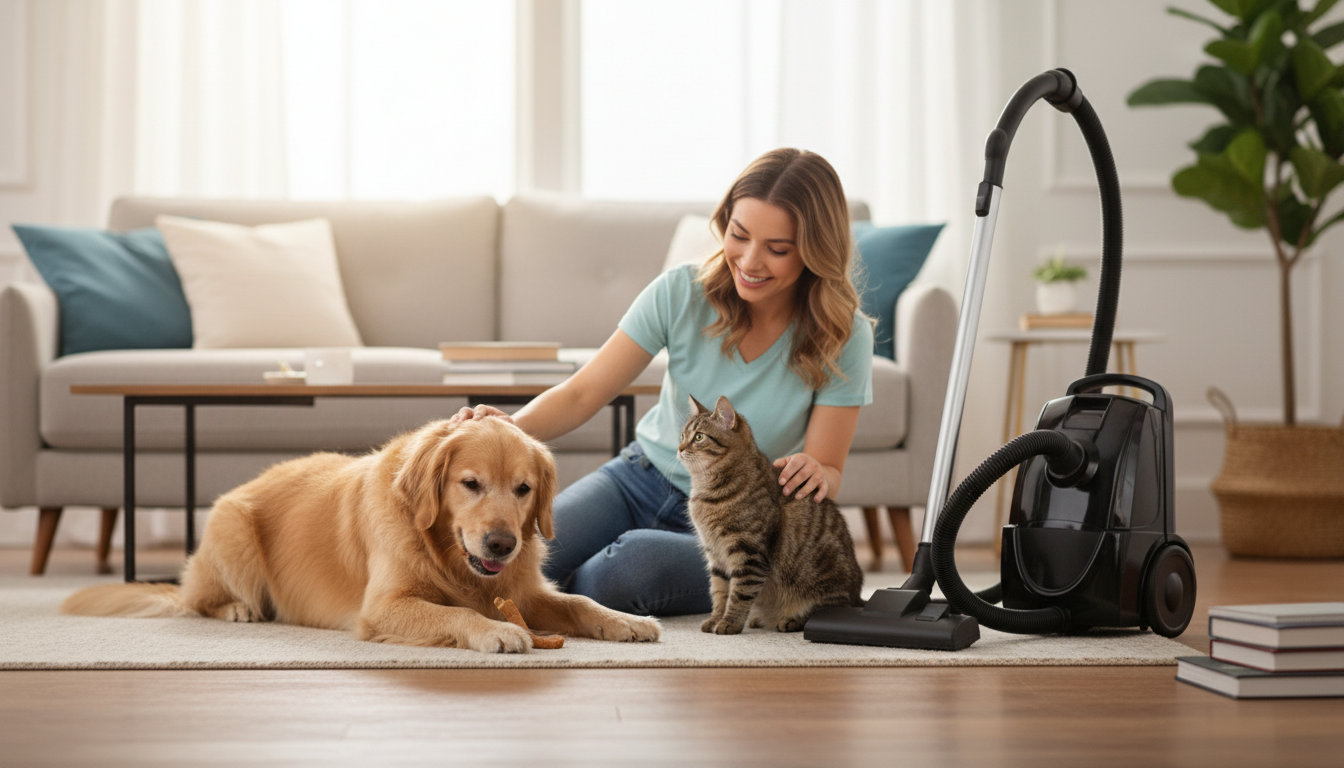
Vacuum cleaners combine sudden movement, loud noise, and unfamiliar airflow—an intense mix for many pets. With a predictable routine and gradual exposure, most dogs and cats can learn to stay relaxed (or at least neutral) while floors get cleaned. The goal is safer cleaning sessions, fewer fear reactions, and a home that feels steady to your pet.
Why vacuums feel scary to pets
To a dog or cat, a vacuum isn’t “just a machine.” It can feel like a fast, noisy object invading the home. Common triggers include:
- Noise and vibration: Motor noise plus floor vibration can exceed what some pets comfortably tolerate, especially in echoing rooms.
- Fast movement: Rolling and sudden direction changes can trigger chase/guard instincts in dogs and startle responses in cats.
- Airflow and odors: Air blast, dust disturbance, and motor smells add sensory overload.
- Bad associations: Slipping, getting bumped, or feeling cornered can create a strong learned fear.
- Extra sensitivity: Age, anxiety, hearing changes, or underlying pain can lower tolerance.
Know the difference: fear, arousal, and aggression
Not all “freaking out” looks the same. Identifying what you’re seeing helps you pick the safest plan.
- Fear signs (dogs and cats): cowering, hiding, trembling, tail tucked, ears back, dilated pupils, trying to escape.
- Arousal in dogs: barking, spinning, stalking, chasing the nozzle, nipping at the vacuum.
- Stress signals in cats: flattened ears, crouching, swatting, bolting—plus over-grooming later.
- Red flags: freezing, lunging, repeated snapping, guarding hallways, redirected bites.
If safety is at risk, separate your pet before vacuuming and consult a qualified trainer or a veterinary behaviorist (you can find specialists through the American College of Veterinary Behaviorists).
Set up the environment before turning anything on
Management makes training easier because your pet starts below their stress threshold.
- Create a predictable “vacuum routine”: same time window, same prep steps, and a clear end signal (like “all done” plus a treat in the safe room).
- Provide a safe zone: a closed bedroom, covered crate, or a tall cat tree area far from the cleaning path.
- Add sound buffering: close doors, place a towel at the bottom gap, and use a fan or white noise in the safe room.
- Offer an occupied activity: long-lasting chew, lick mat, food puzzle, or scattered kibble to sniff out.
- Keep escape routes open: avoid cornering cats or vacuuming toward a dog’s resting spot.
A gradual training plan that builds calm responses
Desensitization works best when the vacuum stays “boring.” Aim for short, repeatable sessions—then stop while your pet is still coping well.
Stage-by-stage approach
- Stage 1 (vacuum off and still): Place it in the room at a distance; reward calm looks and relaxed body language.
- Stage 2 (vacuum moves, still off): Roll it an inch, then reward; keep sessions very short (about 1–3 minutes).
- Stage 3 (sound at a distance): Turn it on in another room for 1–2 seconds; reward immediately; end before stress rises.
- Stage 4 (sound in same room, far away): Increase duration slowly; pair sound with high-value treats, not regular kibble.
- Stage 5 (normal use): Vacuum in small zones; treat between passes; stop on a good note.
Rule of thumb: If your pet startles, barks nonstop, or flees, the step was too hard. Reduce intensity (more distance, shorter duration, lower movement) and rebuild.
| Stage | Vacuum state | Distance | Pet goal | When to move on |
|---|---|---|---|---|
| 1 | Off, stationary | Across room | Looks at it then relaxes | 3 sessions with loose body |
| 2 | Off, rolling | Across room | Stays engaged with treats/toy | Can watch movement without tensing |
| 3 | On, out of sight | Different room | Eats treats normally | No startle/bolting at brief sound |
| 4 | On, visible | Far corner | Can settle on mat or chew | Recovers quickly after a pass |
| 5 | On, normal use | Same room | Neutral/relaxed during cleaning | Multiple rooms without escalation |
What to do during vacuuming (real-life handling)
If your dog is prone to snapping or redirected biting, prioritize separation and review safety guidance such as the American Veterinary Medical Association’s dog bite prevention tips.
Mistakes that commonly make vacuum stress worse
When extra help is needed
A supportive option for smoother training
Helping Pets Handle Vacuum Stress is designed as a practical support option to reduce stress around vacuum time and reinforce calmer associations. Best results come from using it alongside gradual exposure, predictable safe zones, and reward-based practice.
If your household is also working on building calmer, more predictable routines overall (especially in high-traffic areas), The Cozy Corner That Changes Mornings: Ultimate Breakfast Nook with Banquette Seating Guide can support creating a steady daily rhythm—helpful for pets that thrive on consistency.
FAQ
How long does it take for a pet to get used to the vacuum?
Many pets improve in days to a few weeks with short, consistent sessions, but noise-sensitive pets or those with a strong history may take longer. Some pets do best with ongoing management (a separate safe room during vacuuming) even after they’ve improved.
Should treats be given before or during vacuuming?
Give treats during exposure at an intensity your pet can handle so the vacuum predicts good things. Use high-value rewards and reinforce calm behavior; if your pet is already panicking, increase distance and lower the intensity before trying to feed.
What if my dog tries to attack the vacuum cleaner?
Separate your dog first to prevent rehearsal and reduce bite risk, then restart training at a much easier step (more distance, vacuum off, tiny movement). If the behavior is intense or escalating, consult a qualified trainer or veterinary behaviorist; safety tools like muzzle conditioning may be recommended as part of a professional plan.


Leave a comment