Clip-On Phone Lens Kit: Wide, Macro, CPL Tips
Universal Smartphone Camera Lens Kit: Bigger Views, Closer Details, Better Control
A clip-on lens kit can transform a phone camera from “good enough” into a flexible tool for travel, content creation, and everyday memories. The right set adds true wide perspectives, macro detail, creative distortion, and glare control—without replacing the phone or learning complex gear. When paired with careful alignment and solid shooting habits, a universal kit can make photos look more intentional and videos feel more polished.
What a smartphone lens kit can change (and what it can’t)
A well-made lens kit expands what your phone can capture. Wide-angle attachments help fit more of a room or skyline into the frame, macro lenses reveal textures that phones normally can’t focus on, fisheye lenses add a playful, curved look, and filters (like a CPL) can tame reflections on glass and water. These additions also address common phone limitations: the minimum focusing distance for small subjects, a narrow field of view in tight indoor spaces, and harsh glare in bright environments.
At the same time, add-on lenses won’t fully replace the advantages of larger camera sensors. Low-light noise, true long-range optical zoom, and naturally creamy background blur still depend heavily on your phone’s camera hardware and software. For the best results, prioritize good light, steady support (even a small tripod helps), and careful alignment over the phone’s main camera lens.
Typical components in a universal kit
Most universal kits revolve around a clip mount—usually a spring clip or clamp that holds the accessory directly over your phone’s camera. The clip is often the make-or-break component for sharpness and stability, since even slight misalignment can reduce contrast or create dark corners.
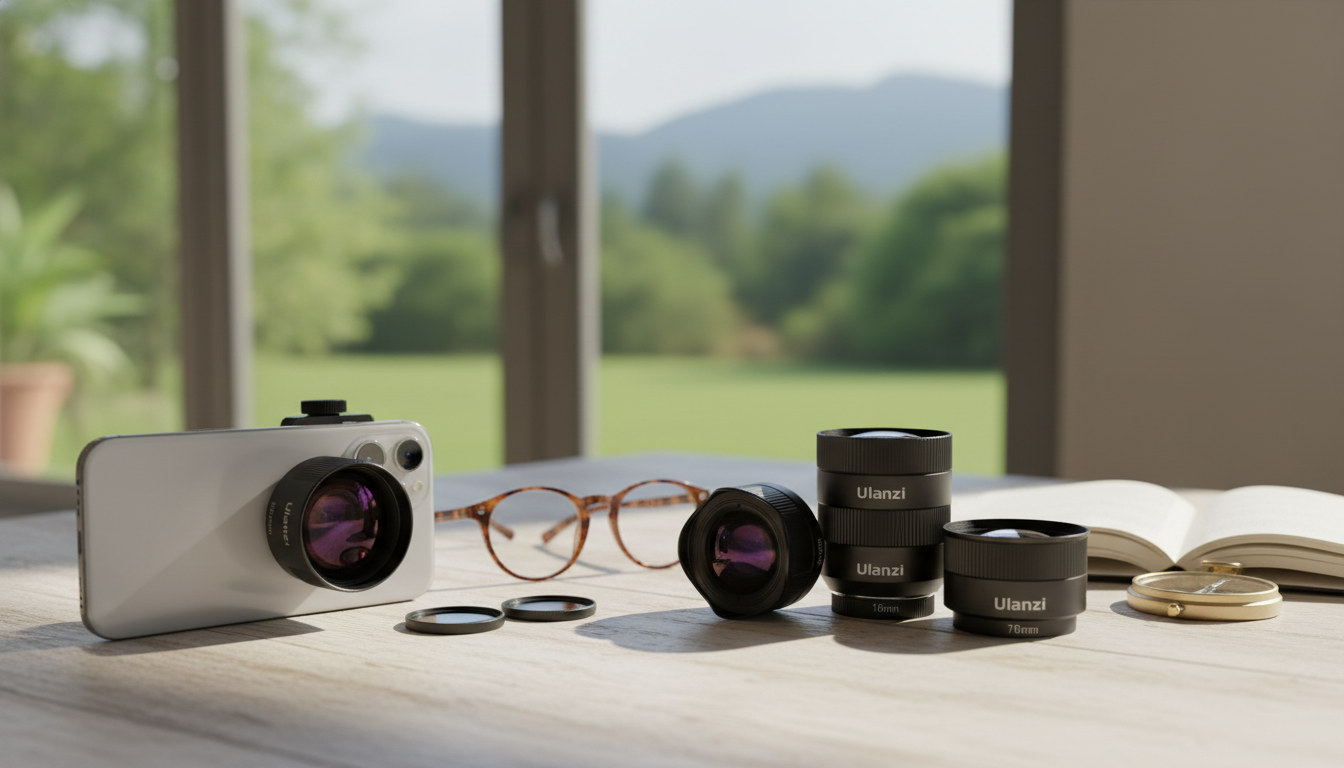
Common pieces include a wide-angle lens for travel, architecture, and group photos; a macro lens for tiny subjects and product detail; and a fisheye lens for dramatic action scenes or stylized social content. Some kits also include a telephoto-style add-on, which can tighten framing but demands extra steadiness and precise placement. Many sets include a CPL (circular polarizer) filter to cut reflections and deepen skies—an effect that’s easiest to understand once you see it in real time (Cambridge in Colour explains how polarizing filters work: https://www.cambridgeincolour.com/tutorials/polarizing-filters.htm).
Lens types and where they help most
| Attachment | Best for | Quick tip |
|---|---|---|
| Wide-angle | Landscapes, interiors, group photos | Keep the phone level to reduce stretched edges |
| Macro | Close-up details, small products, nature textures | Use lots of light and tap-to-focus carefully |
| Fisheye | Action, creative portraits, dynamic scenes | Center the subject to control distortion |
| CPL filter | Glass, water, car paint, bright skies | Rotate the filter while watching reflections change |
Compatibility and setup that keeps photos sharp
Universal kits are designed to work across many phones, but setup details matter. Start by checking camera placement: multi-camera phones and large camera bumps can prevent the clip from sitting flat, which makes alignment harder. If the clip rocks or sits at an angle, sharpness suffers—especially near the edges.
Before every session, clean both the phone lens and the add-on lens with a microfiber cloth. A small smudge can look like “mysterious fog,” reduced contrast, or exaggerated flare. For video, lock exposure and focus to avoid pulsing brightness or focus hunting after the lens changes contrast; Apple’s camera basics are a helpful refresher for iPhone shooting controls: https://support.apple.com/guide/iphone/take-photos-iph3d0395a6/ios.
Use cases: quick wins for everyday creators
Travel and city walks
Food and tabletop
Small business listings and product content
Family moments
Video content
Wide-angle is great for handheld walk-and-talk clips because it feels stable and forgiving. For overhead demos, close-ups, and macro video, a tripod (even a small one) keeps the frame steady and the focus more predictable. Adobe’s mobile photography tips can also help refine composition and lighting habits: https://www.adobe.com/creativecloud/photography/discover/phone-photography.html.
Practical shooting tips that improve results immediately
Care, storage, and long-term performance
Universal clip-on vs. case-mounted systems
Featured picks (in stock)
- Universal Smartphone Camera Lens Kit — a flexible way to add wide, macro, fisheye, and reflection control to your phone setup.
- 5-in-1 Hair Dryer & Styler Brush with Auto Curling and Frizz Control — a handy option when creating before-and-after content or getting camera-ready quickly.
- Women’s Suede Leather Lace-Up Loafers — a clean style choice for lifestyle shoots and everyday wear.
FAQ
Will a universal lens kit work with any phone and any case?
Most universal kits fit many phones, but thick or uneven cases can block the lens from sitting centered and flush. If alignment is difficult, remove bulky cases or switch to a thinner case, and take extra care with phones that have large camera bumps.
Why do I see dark corners (vignetting) after attaching a lens?
Vignetting usually comes from slight misalignment, the lens not sitting flat because of a case or camera bump, or attaching it over the wrong camera module. Re-center the clip carefully, ensure the accessory lens is flush, and if needed use a small pinch-zoom to hide the corners.
How close can I focus with a macro lens?
Macro lenses typically focus from very close range, often just a couple of inches from the subject, but it varies by lens design. Use bright light, hold the phone steady, and slowly move the phone in and out until the details snap into focus.


Leave a comment