DIY Wooden Bloom Box 3D Puzzle Kit: Build & Display
DIY Wooden Bloom Box 3D Puzzle Kit: Build a Display-Worthy Keepsake
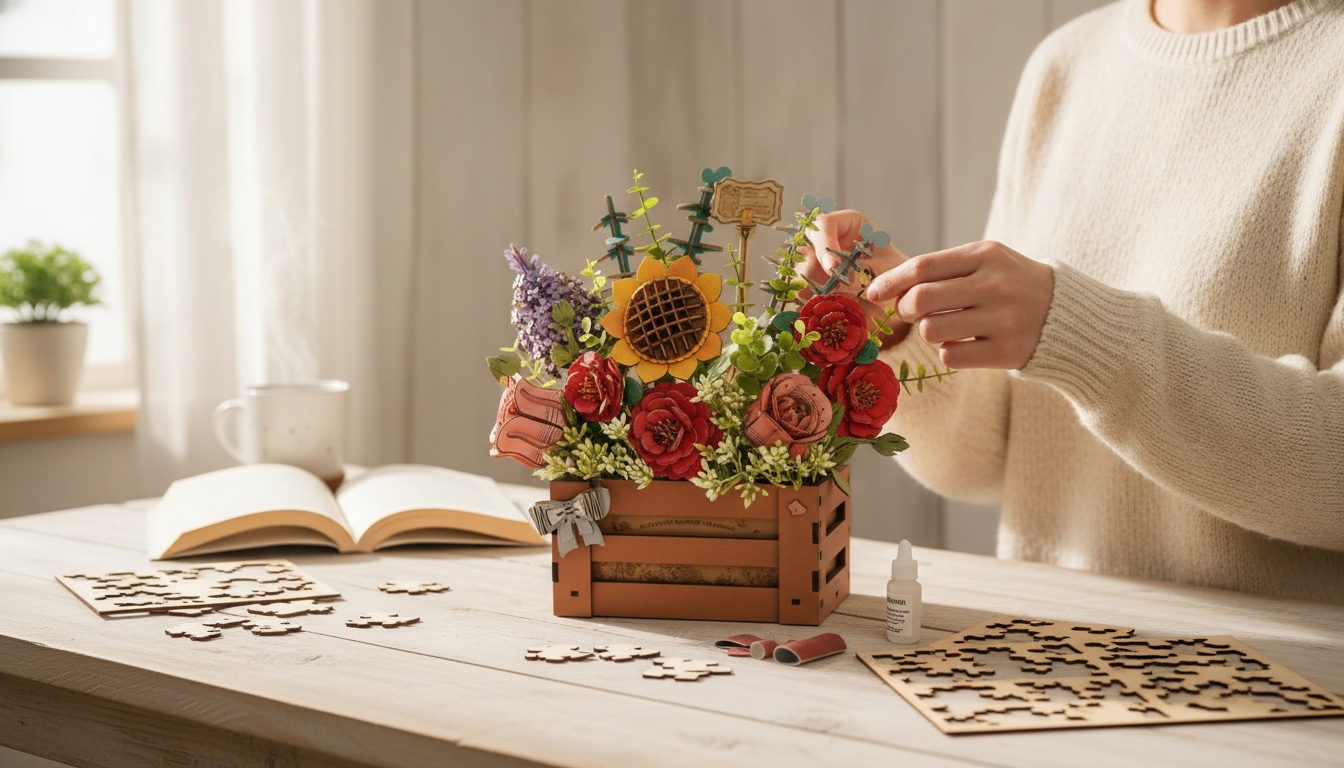
A bloom box model blends the best parts of hands-on building with a finished piece that actually earns a spot on a shelf. The DIY Wooden Bloom Box 3D Puzzle Kit focuses on satisfying assembly, crisp wood-craft details, and a decorative result that works as a desk accent, shelf décor, or a thoughtful gift for makers who enjoy calm, focused projects.
What Makes a Bloom Box Build Special
- A decorative 3D wooden build designed to look like a flower-themed keepsake box once completed.
- A project that bridges puzzles and craft kits: structured assembly with a clear end display.
- Ideal for a mindful, screen-free activity across a weekend or a few evenings.
Quick Overview: Build, Finish, Display
Most builders find the process flows best in predictable stages: organize parts, dry-fit, assemble smaller submodules, then do final alignment and detail checks. A clean workspace matters more than fancy tools—good lighting, a flat surface, and a small tray for tiny pieces can prevent most avoidable mistakes.
Once finished, this type of model looks great on a bedside table, office shelf, or craft-room display. It also makes a memorable gift presentation centerpiece—especially if you add a small note or date on the underside.
At-a-Glance Details
| Item | Details |
|---|---|
| Product | DIY Wooden Bloom Box 3D Puzzle Kit |
| Price | 61.51 USD |
| Availability | In stock |
| Best for | Hobby builders, craft lovers, gift-giving, decorative home/desk display |
| Preparation | Flat workspace, good light, small container for parts |
What’s Included and What to Have Ready
This kit typically includes pre-cut wooden pieces intended to be assembled into the bloom box model. To keep the build smooth and frustration-free, it helps to have a few basic items nearby:
- Tweezers for placing small parts and holding tiny tabs without crushing edges.
- Fine sandpaper or an emery board for gentle touch-ups on snug-fitting tabs.
- Optional wood glue if the kit design allows it and you want extra reinforcement on select joints.
If you like customizing, plan finishing supplies ahead of time: a clear sealer to protect the surface, wood stain to deepen the grain, or acrylic paint for accent color.
Difficulty, Time, and Who It’s For
The bloom box style build is a strong match for patient beginners—especially those who enjoy following instructions carefully and don’t mind sorting pieces with a little attention to detail. Intermediate builders often have fun taking it a step further with color accents, subtle “weathering” effects, or a boutique-style finish that makes the model look like a tiny artisan décor item.
Age suitability depends on small-part handling. If younger builders are involved, adult supervision is a smart choice due to the presence of small pieces; for general guidance on small-part safety, reference the USCPSC toy safety resources.
Time-to-finish varies with pace and experience. Many builders prefer multiple sessions—one for sorting and early steps, another for assembly, and a final session for alignment and optional finishing—since rushing tends to create misalignment that’s harder to correct later.
Assembly Tips for a Clean, Accurate Build
- Sort before you start. Group pieces by shape or by step number so you’re not searching mid-build.
- Dry-fit critical joints first. If something resists, double-check orientation rather than forcing it.
- Sand minimally. Lightly sand tabs or edges only when needed for smooth insertion—remove as little material as possible.
- Build in subassemblies. Finish small modules fully before combining them into the main structure.
- Keep alignment honest. Work on a truly flat surface and re-check squareness as the model grows.
If you choose to add glue, apply it sparingly and only where it won’t squeeze out into visible areas. A toothpick can help place tiny dots of adhesive with control.
Finishing and Personalization Ideas
- Keep it natural. A clear matte sealer highlights wood grain while protecting surfaces from fingerprints and dust.
- Add subtle color. Painting only accent parts (instead of the whole model) can create a crafted, boutique look.
- Make it gift-ready. Add a small name tag, date mark, or short message on the underside.
- Upgrade the display. Place the finished model on a small coaster or wooden base to visually “frame” it on a desk or shelf.
If you use paints, stains, or sealers indoors, good ventilation matters. For background on indoor air quality and solvents, see the EPA overview of VOCs and indoor air.
Care, Safety, and Storage
When This Kit Makes the Best Gift
More In-Stock Picks to Pair with Your Build
- The Cozy Corner That Changes Mornings: Ultimate Breakfast Nook with Banquette Seating Guide (a planning-friendly home project that matches the same creative, hands-on energy).
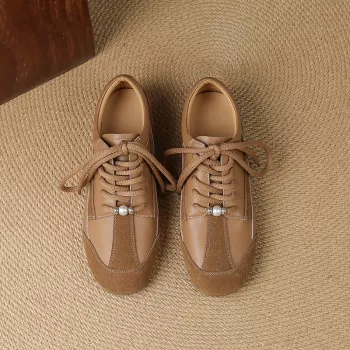
- Women’s Suede Leather Lace-Up Loafers (a practical gift add-on when you want something wearable alongside a maker-style kit).
FAQ
Is the DIY Wooden Bloom Box 3D Puzzle Kit suitable for beginners?
Yes—careful instruction-following and patience matter more than prior experience. Sorting pieces, dry-fitting before pressing, and taking short breaks helps keep the build accurate; younger builders typically do best with adult supervision because of small parts.
Do you need glue to assemble the kit?
Many wooden puzzle kits rely on interlocking joints, so glue often isn’t required. Check the included instructions first; if allowed, a tiny amount of glue can be used as optional reinforcement based on preference.
How long does it take to finish the bloom box model?
Build time depends on pace and experience, but it’s common to complete it over multiple sessions. Plan extra time if you’ll be painting, staining, or sealing so finishes can dry and cure properly.


Leave a comment